![]()
Construction stormwater photo gallery - Buffer zones
This page provides photos illustrating well implemented and poorly implemented buffer zone practices.
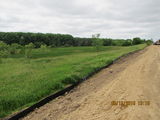
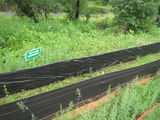
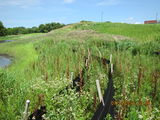
Examples of well implemented buffer zone practices
- These are some examples where effective buffer zone practices were used. Click on an image for more information.


This page was last edited on 20 July 2022, at 14:26.