This page provides photos illustrating well implemented and poorly implemented buffer zone practices.
Return to: Photo Gallery Homepage
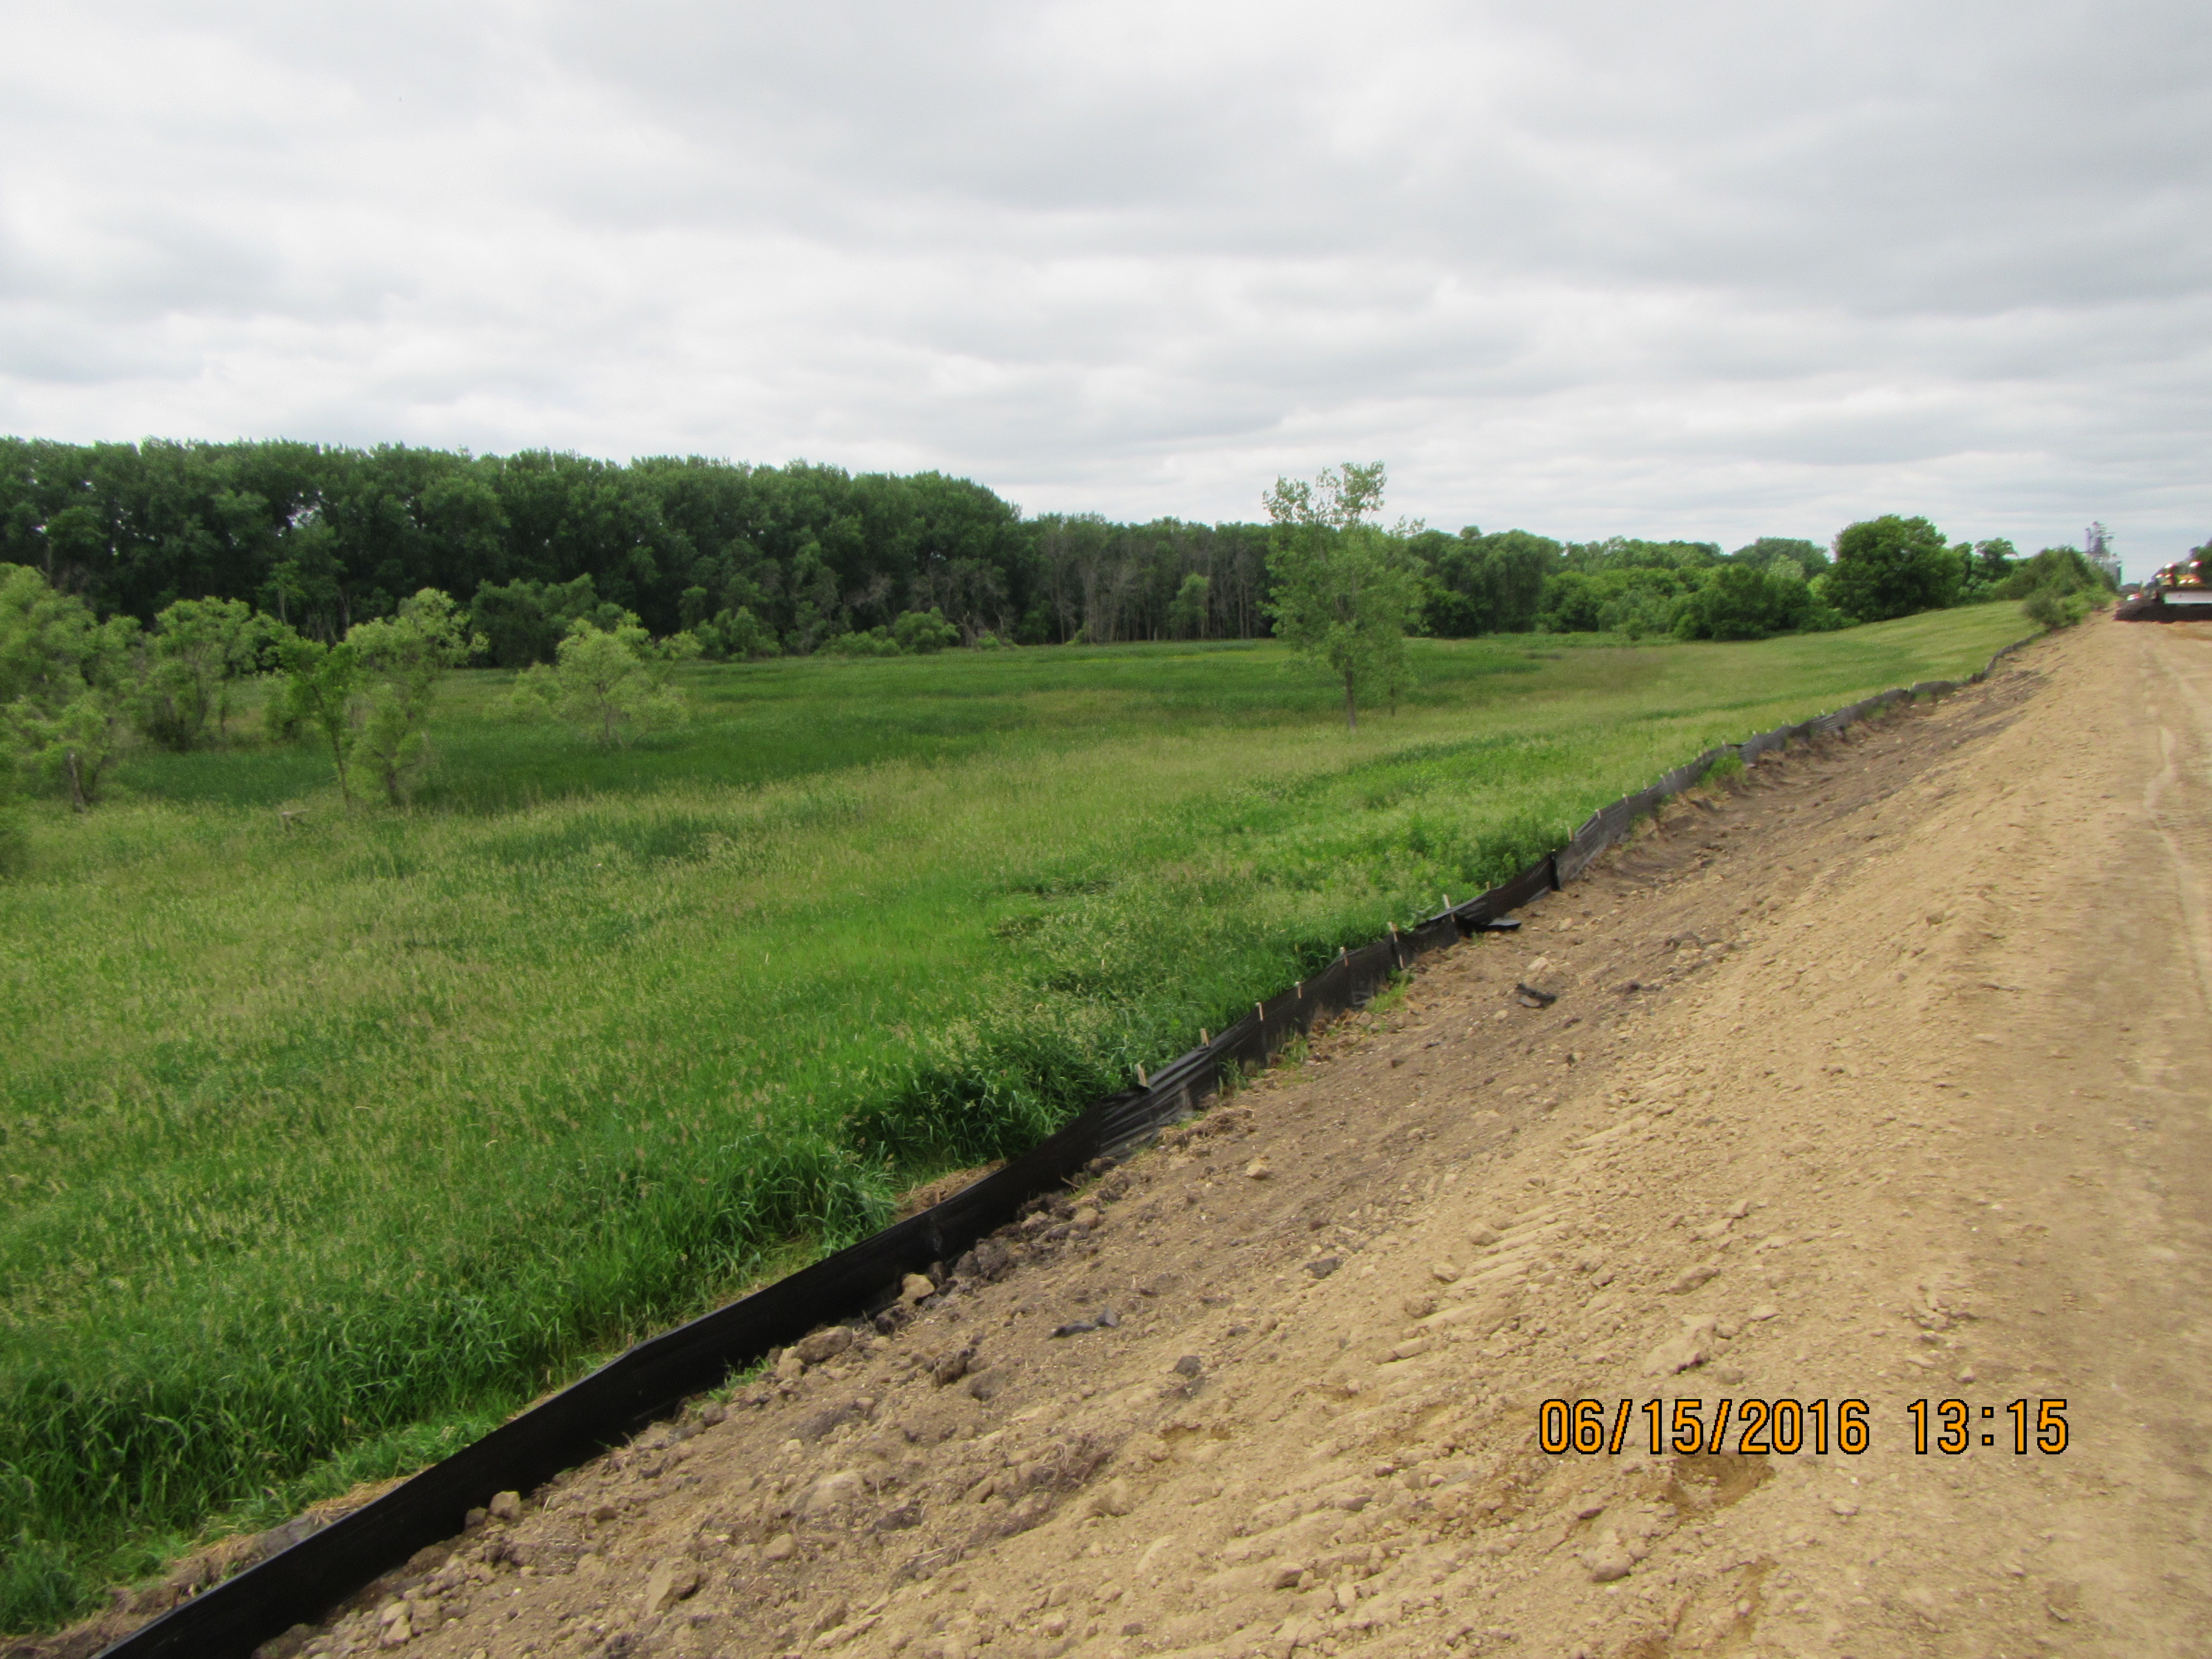
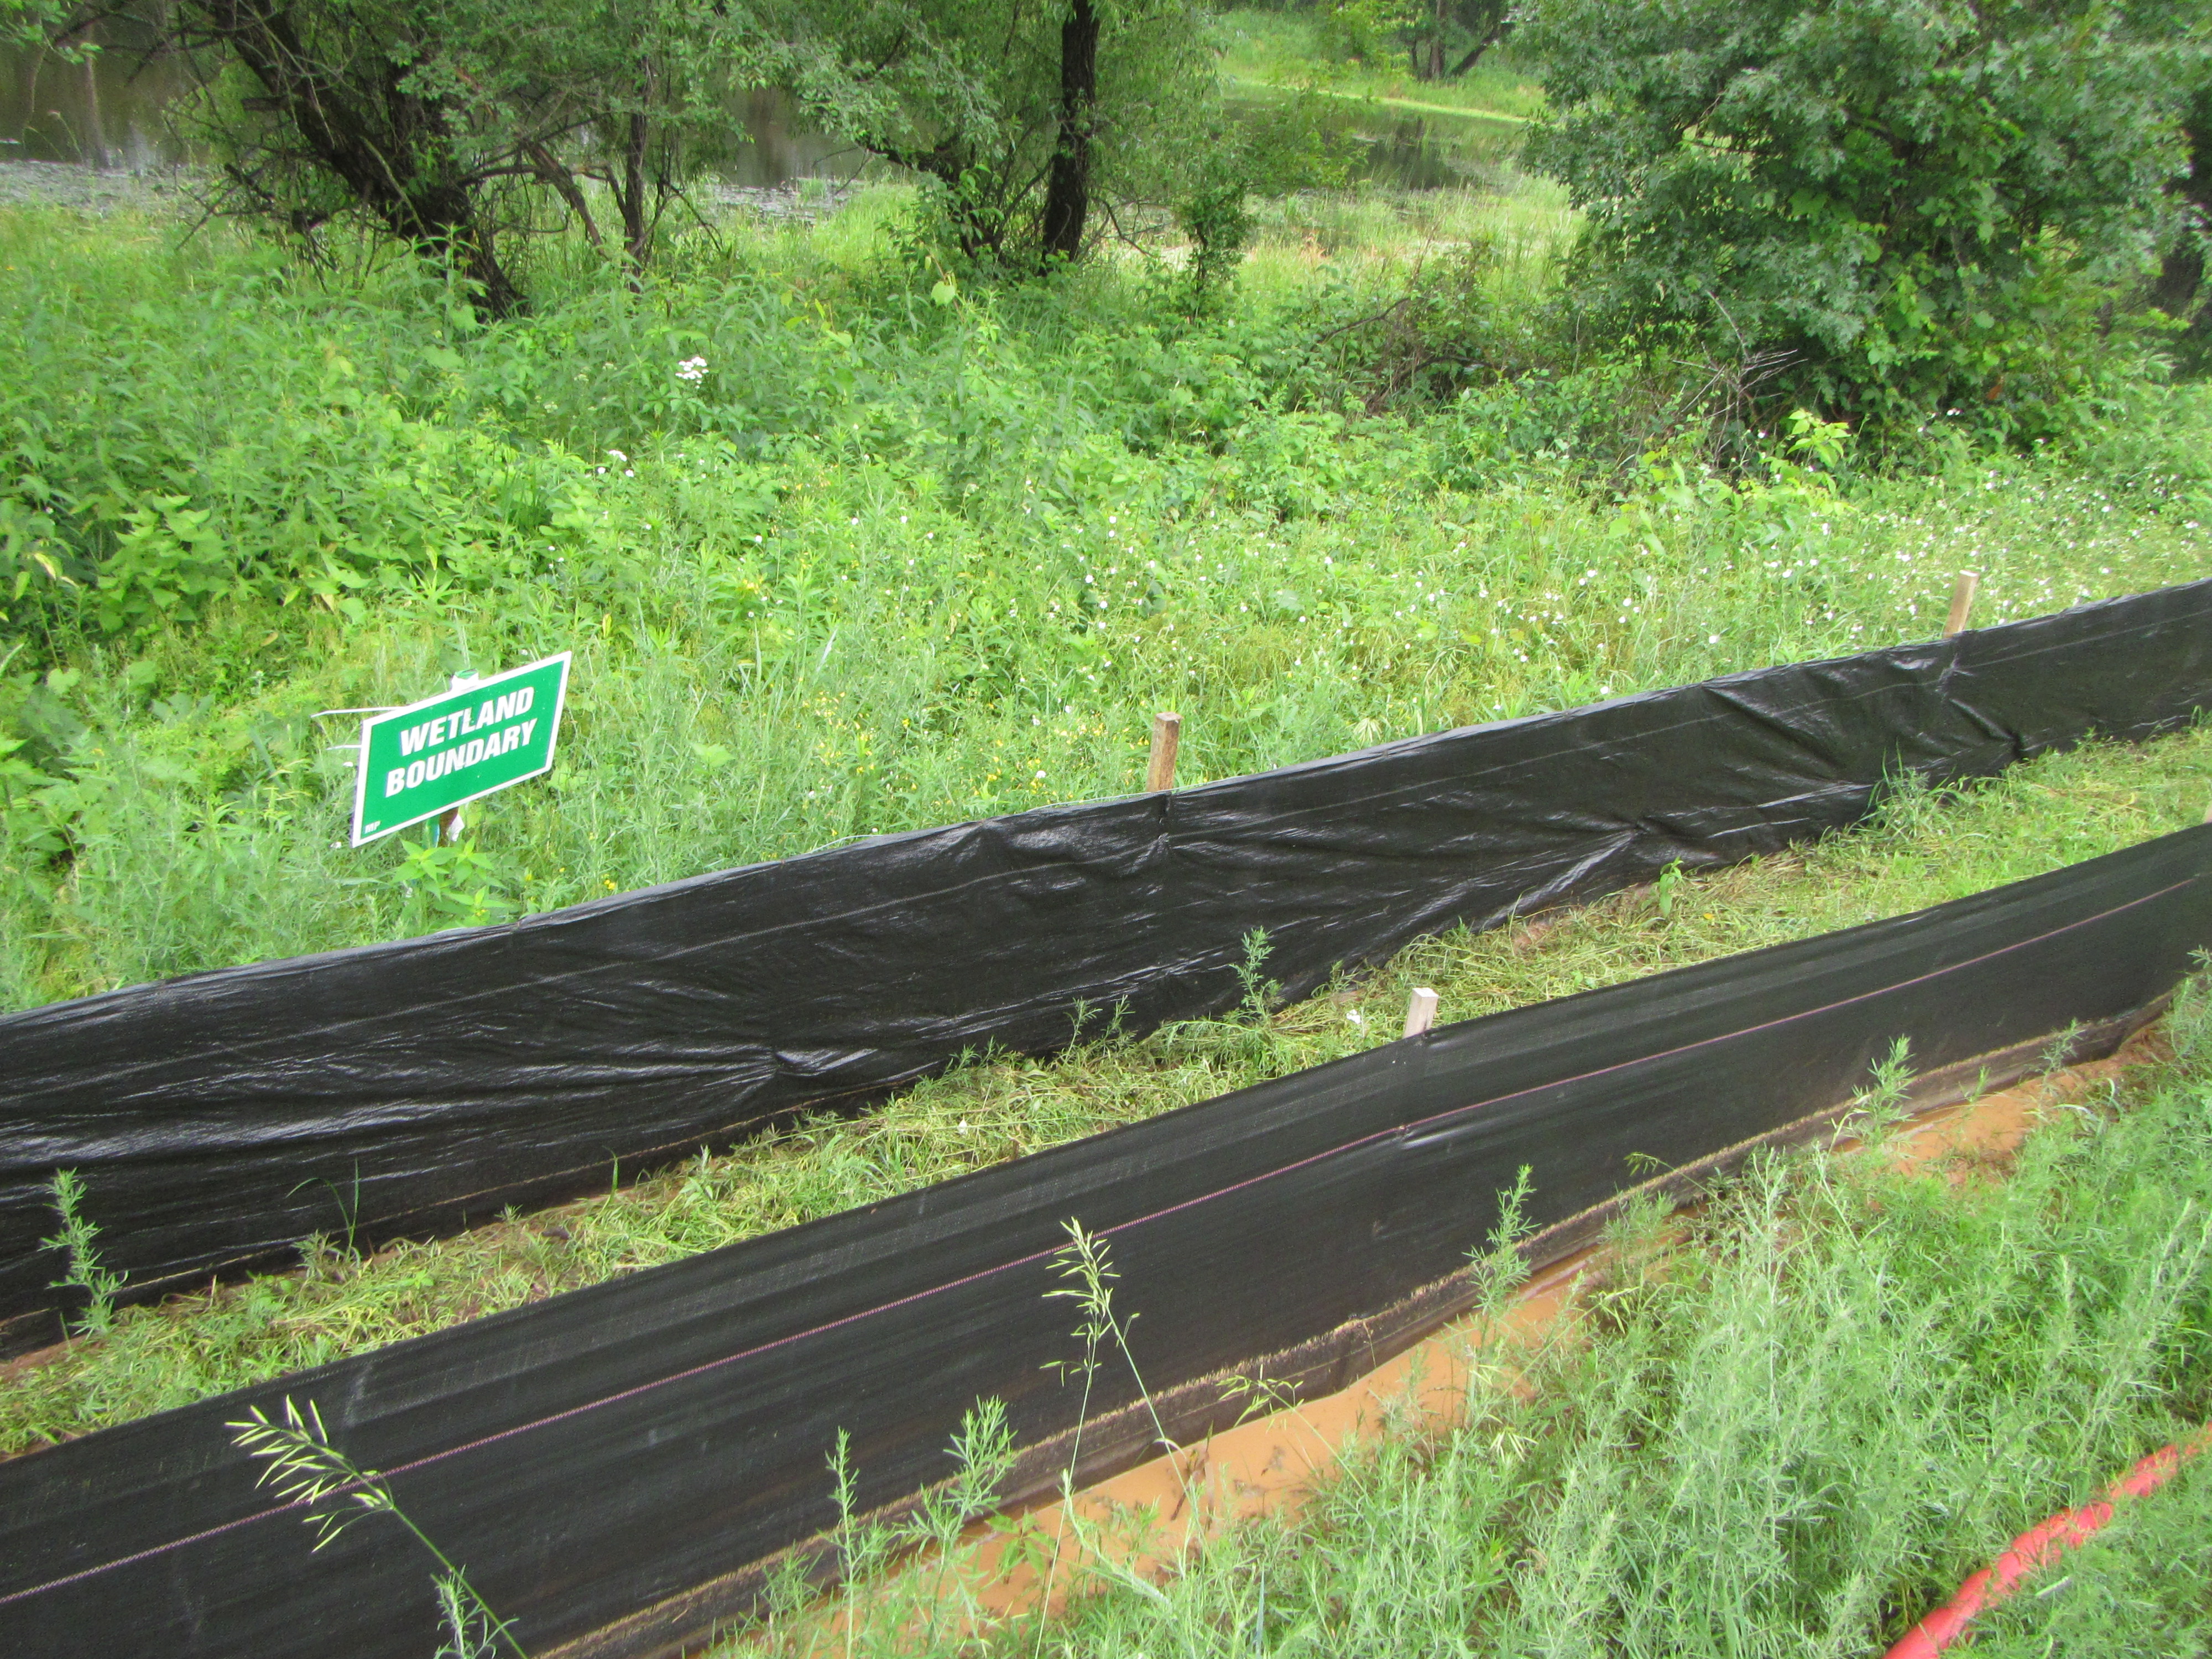
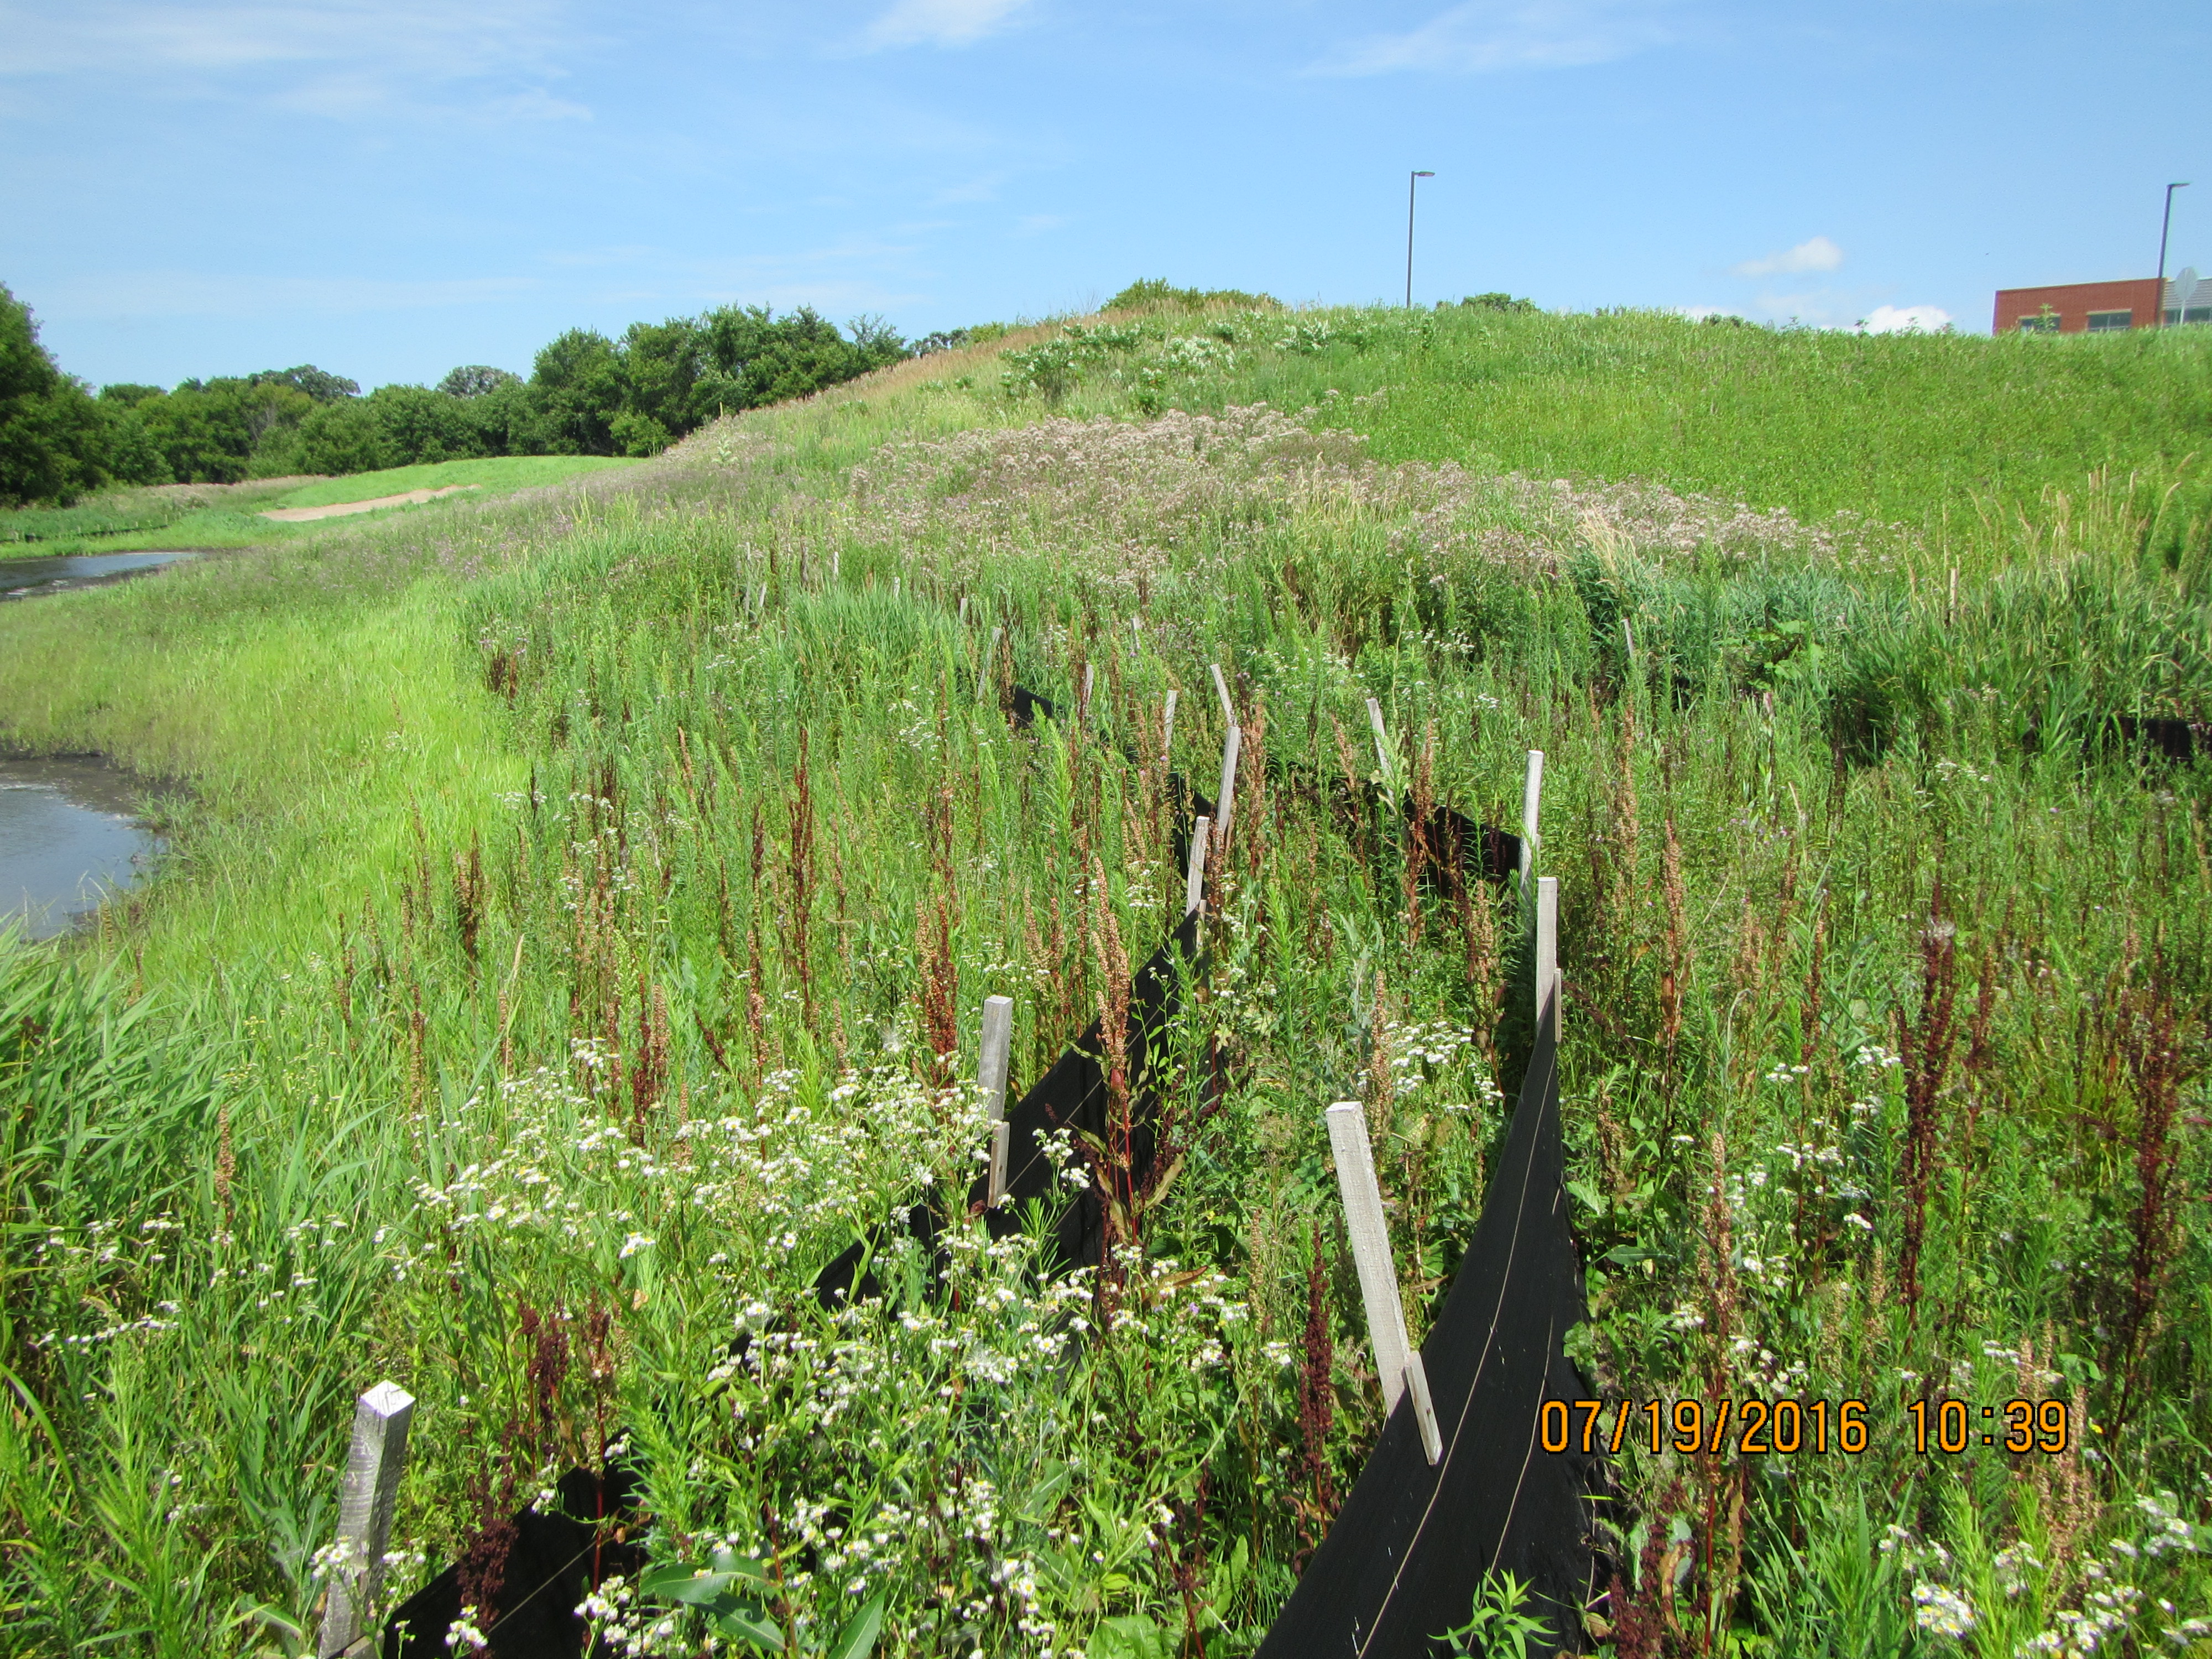
Examples of well implemented buffer zone practices
Examples where effective buffer zone practices were used. Click on an image to enlarge.